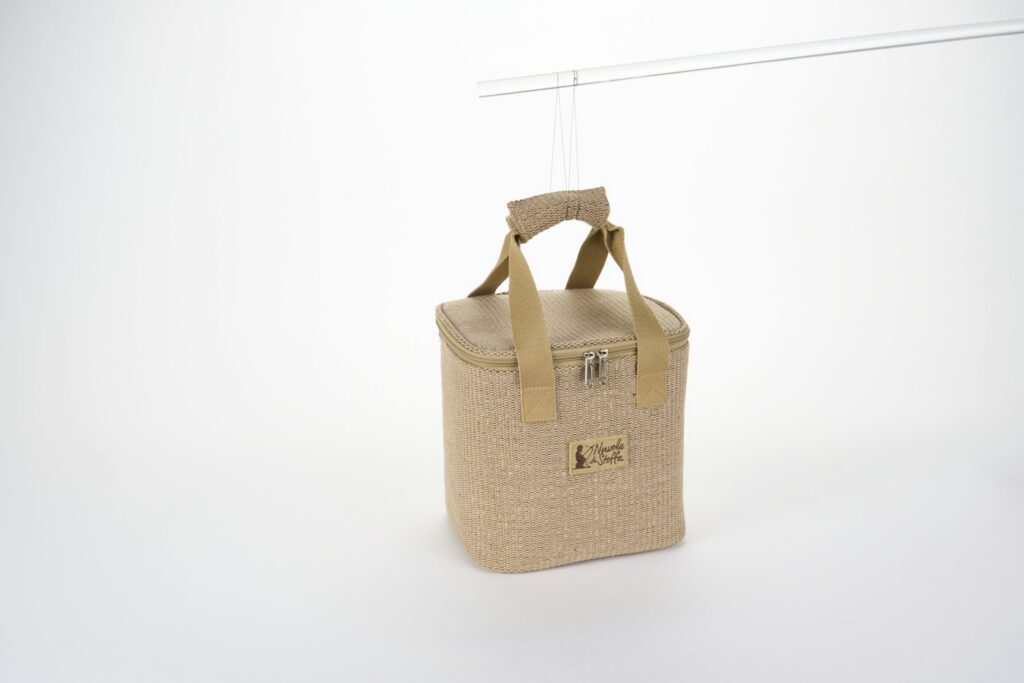
A lunch bag can look roomy and still fail to hold your everyday lunch. The useful size is the space left after the containers, cold sources and drink are packed—not the number of cans in a product photo. Start with what you carry on a normal day and compare the bag against that load.
This is a shopping and fit guide, with no current sale claim or product testing. It helps you decide which measurements to collect before buying a soft cooler or lunch tote.
We may earn a commission from qualifying purchases at no extra cost to you. As an Amazon Associate, GlitchNDealz earns from qualifying purchases.
Build the lunch you actually carry
Set out your usual food container with its lid attached, your drink bottle, utensils and anything that must travel beside them. Include the bulky items that are easy to forget: a wide bottle cap, a projecting container latch, or a reusable ice pack that will not bend around the lunch.
Choose an arrangement you could repeat each morning. A tall stack may fit a bag’s stated height but leave a yogurt cup under a heavy container. A side-by-side layout may keep food upright while requiring a wider base. Photograph or sketch the arrangement so you compare every candidate with the same packing plan.
Measure the base, the height and the opening
| Measurement | What to include | Why it changes the choice |
|---|---|---|
| Footprint | The widest container, including latches | A narrow base can prevent a container from lying flat. |
| Packed height | The full stack with lids and cold packs | A domed lid or zipper may reduce usable space. |
| Opening | The width and shape of the unzipped mouth | A container must pass through the opening, not merely fit inside. |
| Drink space | The bottle at its widest point and full height | A side pocket or divider may have its own limit. |
| Carrying space | The lunch bag inside your backpack or locker | A bag can fit lunch but fail to fit the place you carry it. |
Keep internal and external dimensions separate. A listing’s outside measurements include the walls and insulation. If only exterior dimensions are supplied and the fit is close, ask for usable interior measurements rather than subtracting an invented standard wall thickness.
Reserve space for cold sources
USDA’s packed-lunch guidance recommends at least two cold sources for perishable lunches. Its examples include two frozen gel packs, or a gel pack with a frozen juice box or water bottle. It also recommends an insulated, soft-sided bag for keeping food cold.
That makes cold-pack space part of the purchase decision. Arrange the cold sources with the food before measuring, rather than treating the remaining pocket as an automatic place for them. A bag advertised around a can count does not tell you whether your rigid container and cold packs will fit together.
If refrigeration is available when you arrive, use it for perishable items. USDA advises leaving an insulated bag open in the refrigerator so cold air can reach the food. A bag’s insulation claim does not establish how long your particular lunch will remain at a safe temperature.
Compare shape and access before extra pockets
A box-shaped cooler can be easier to compare with a rectangular meal-prep container. A tall tote may work better for an upright bottle. A broad opening may matter more than an extra accessory pocket when you need to lower a full container without tipping it.
Think about how you will unpack the bag. If the drink has to come out before you can reach lunch, that may be acceptable at a desk but awkward on a bus or picnic bench. A separate dry pocket is useful for utensils only if it does not compress the food compartment once filled.
Read cleaning and carrying details
Look for the maker’s cleaning directions for the liner and the outside fabric. “Wipe clean” and “machine washable” are different instructions. Check whether a removable liner is included or merely shown in a lifestyle photo, and whether the shoulder strap is supplied with the exact model you are considering.
Count the bag, containers, cold packs and drink as one carried load. A large empty tote can be light while a fully packed lunch is awkward to lift. Check handle placement, strap adjustment and how the bag sits alongside your other belongings; a product photo cannot establish comfort for your commute.
A five-line shopping note
- Record the main container’s outside dimensions with its lid and latches.
- Write down the packed arrangement, including two cold sources when your lunch requires them.
- List the minimum usable opening and interior measurements you need.
- Check the bag’s cleaning instructions and supplied straps or liners.
- Compare the complete purchase, including any containers or cold packs sold separately.
If you are replacing containers too, our food-storage set guide explains why piece counts can include lids. For more practical buying comparisons, visit Savings Guides.
Illustrative photo: Md Ishak Rahman / Unsplash. The photo is not a test of the product discussed.