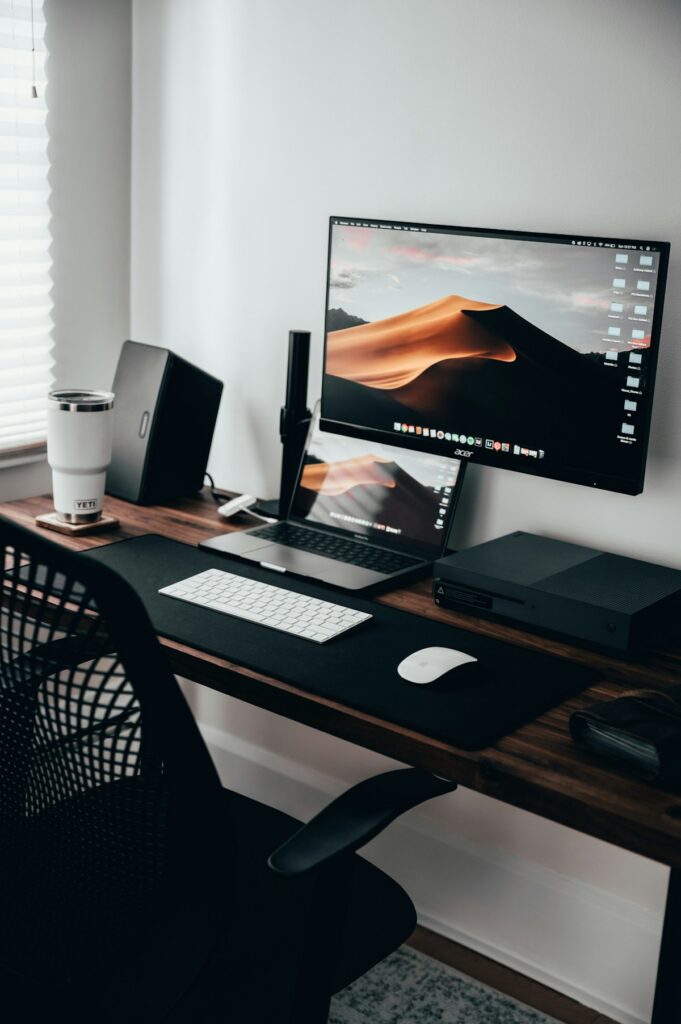
A monitor arm must match both the display and the desk. The screen’s diagonal measurement is only one part of that match. Check the mounting holes, the monitor’s weight without its original stand, the attachment to the desk and the space needed when the arm moves.
Start with the exact display
Find the monitor model in its manual or specifications. Record its weight in the configuration that will attach to the arm and its supported mounting pattern. A removable desktop stand can make the boxed product weight a poor substitute for the display’s mounted weight.
VESA measurements describe the spacing of mounting holes. For example, the Ergotron LX desk arm is covered in a manufacturer specification sheet listing 75-by-75 mm and 100-by-100 mm patterns. A monitor with a different pattern needs its own compatibility solution; a similar screen size does not establish a fit.
Check the minimum as well as the maximum weight
The LX family specification sheet lists a supported range of 7–25 pounds. This is a range, not simply a maximum. Compare the exact current arm version with your complete mounted load, including any accessory that the manufacturer says must be included.
Hypothetical example: a display weighing 22 pounds sits inside a stated 7–25-pound range. That clears the weight comparison only. It does not prove compatible mounting holes, desk attachment, screen dimensions or movement clearance. A six-pound display would fall below that example range even though it is lighter than the maximum.
Match the attachment to the real desktop
A clamp needs access to an appropriate edge and enough space for its parts. A grommet arrangement uses a suitable hole and hardware. Compare the exact installation instructions with the desktop’s material, thickness, edge shape and any supporting structure below it.
Do not transfer a thickness range or included mounting kit from one model in a product family to another. The LX sheet distinguishes standard, top-clamp and tall-pole versions, with different included components. The part number matters when comparing packages.
Measure the movement envelope
Think about where the screen will be when pulled forward, pushed back and rotated. A wall, shelf, window or second display may limit movement before the arm reaches its advertised range. Also compare the display’s lower edge with objects on the desk.
Route power and video cables so they can follow the intended movement without pulling tight. The cable length that reaches a monitor in its original fixed position may be too short after an arm is added. Keep connections accessible rather than trapping them behind the mounting plate.
Compare what the arm actually includes
A laptop tray, adapter plate or second-monitor extension may be a separate accessory. List the parts required for your setup before comparing complete purchase costs. Follow the exact arm and desk manufacturers’ installation instructions rather than treating a product-family photo as an assembly guide.
For the surrounding workspace, our desk-mat measurement guide and USB-C cable guide cover other practical fit checks.
Some links may earn GlitchNDealz a commission at no extra cost to you.
Illustrative monitor-arm workspace photograph by Max Andrey, Unsplash; not an identification or installation example of a specific Ergotron model.